1. Introduction to 3D Puff Embroidery
3D puff embroidery is taking the world of branding and fashion by storm. Unlike traditional flat embroidery, this technique adds dramatic dimension and texture, making logos and designs literally pop off the surface. Whether you’re a seasoned embroiderer or just dipping your toes into the craft, 3D puff offers a way to elevate your work—quite literally—to new heights. In this guide, you’ll discover what makes 3D puff embroidery unique, how it’s created using a computer embroidery machine, and why it’s become a go-to for bold branding on apparel and promotional products. We’ll walk through the essentials: from the core principles and technical requirements, to step-by-step creation, design inspiration, and practical troubleshooting. Ready to see your logos stand out in a crowd? Let’s unravel the secrets of 3D puff embroidery.
Table of Contents
- 1. Introduction to 3D Puff Embroidery
- 2. What is 3D Puff Embroidery?
- 3. Step-by-Step Creation Process
- 4. Design Inspiration and Industry Applications
- 5. Comparative Analysis: Puff vs. Other Techniques
- 6. Purchasing and Production Economics
- 7. Software and Troubleshooting Guide
- 8. Conclusion
- 9. Frequently Asked Questions
2. What is 3D Puff Embroidery?
2.1 Core Principles and Definition
At its core, 3D puff embroidery is all about turning ordinary logos into tactile, eye-catching statements. The magic happens through a foam-underlay technique: a piece of foam, cut to match the design’s shape, is placed between the fabric and the embroidery thread. Satin stitches are then layered tightly over the foam, compressing it and creating that signature “puffy” or raised effect. The result? Designs that don’t just sit on the fabric—they rise above it, casting subtle shadows and inviting a touch.
This approach is fundamentally different from flat embroidery, which applies thread directly to fabric for a smooth, two-dimensional finish. While flat embroidery excels at intricate details and subtle gradients, 3D puff is all about bold, simple shapes and strong visual impact. The foam acts as a structural support, lifting the stitches and giving the design a pronounced, tactile presence. This effect is achieved with embroidery machines computerized that precisely control the stitching. This dimensionality is what makes 3D puff logos so effective for team hats, fashion branding, and promotional pieces where standing out is the goal.
Texture is another key differentiator. Flat embroidery feels polished and even, perfect for detailed artwork. In contrast, 3D puff embroidery introduces a sculpted, touchable surface—think of it as the difference between a printed poster and a bas-relief sculpture. The interplay of light and shadow on these raised stitches adds a new layer of visual intrigue, making logos and lettering leap to life.
2.2 Technical Specifications and Limitations
While 3D puff embroidery is visually striking, it comes with its own set of technical rules. Success hinges on respecting the physical properties of the foam and the mechanics of the embroidery machine.
- Line Width Requirements: For optimal results, design elements should have line widths between 0.2” and 0.5” (about 5–12.5 mm). Anything thinner risks losing definition, while wider sections may not be evenly supported by the foam.
- Spacing Constraints: Maintain at least 0.05” (1.27 mm) of space between design elements. This ensures the foam can be properly compressed and prevents stitches from merging or distorting.
- Design Simplicity: 3D puff embroidery thrives on bold, uncomplicated graphics. Complex patterns, fine details, thin lines, or small text are challenging—if not impossible—to execute cleanly. The foam simply can’t support tiny elements, and dense stitching may flatten rather than elevate the design.
- Color and Pattern Considerations: Because the foam raises the thread above the fabric, color gradients and subtle shading are difficult to achieve. Solid colors and high-contrast designs work best, maximizing the dimensional effect.
- Substrate Suitability: Heavier, structured fabrics—like those used in caps, some jackets, or bags—are ideal. Lightweight or stretchy materials may not provide enough support for the raised design.
In short, if your logo is all about bold letters or simple shapes, 3D puff embroidery is your friend. For intricate artwork or fine script, flat embroidery remains the better choice.
3. Step-by-Step Creation Process
3.1 Digitizing Techniques and Software
Digitizing for 3D puff embroidery is a craft in itself. Unlike standard embroidery, you’ll need to optimize stitch density, remove underlays in puff areas, and plan your design in segments to accommodate the foam’s thickness.
- Stitch Density Optimization: Use dense satin stitches (typically 0.4–0.6 mm base density) to ensure full coverage of the foam and crisp, raised edges. The top layer often requires double the base density for complete coverage, preventing the foam from peeking through.
- Underlay Removal: Skip underlay stitches in puff areas—these can flatten the foam and reduce the dimensional effect. Instead, use a loose running stitch to tack the foam in place before the main satin stitching.
- Software Tools: Leading programs like Wilcom and Tajima offer specialized features for puff embroidery. Tools such as “Puffy Fonts” and stitch simulation help visualize the final effect and adjust settings for optimal results. YouTube tutorials, like “Turning a Silhouette into 3D Puff Satin Stitches,” demonstrate how breaking complex designs into manageable segments can help maintain proper stitch length and shape.
- Segmenting Large Designs: If a design element is wider than your machine’s recommended maximum (often 6–7 mm), split it into smaller, interlocking pieces. This ensures each segment is properly supported and maintains its shape.
- Capping and Sequencing: Add capping stitches at open edges to contain the foam and prevent it from poking out. Sequence your design logically to minimize jump stitches and ensure smooth transitions between elements.
3.2 Foam Application and Machine Settings
The foam you choose—and how you apply it—directly affects the final look and feel of your embroidery.
- Foam Thickness: Standard puff foam ranges from 2–3 mm thick. Thicker foam yields more dramatic elevation, but may require multiple layers or slivers for nuanced shapes. Always match the foam color to your thread for a seamless finish.
- Securing the Foam: Use a temporary adhesive spray or tape to hold the foam in place before stitching. This prevents shifting during the embroidery process.
- Machine Speed Adjustments: Slow down the machine when stitching over foam to ensure accuracy and prevent skipped stitches. Satin stitches should be tight and dense for clean coverage.
- Satin Stitch Requirements: Only use satin stitches over foam—other stitch types (like fill or underlay) will flatten the foam and defeat the purpose of puff embroidery.
- Post-Trimming Process: After stitching, carefully tear away excess foam from the edges. Use tweezers for small areas and trim any stubborn bits with small scissors. If needed, a heat tool can help clean up stray foam fibers for a polished result.
- Care and Maintenance: Air drying is recommended for puff embroidery. Avoid dry cleaning, as chemicals can dissolve the foam and compromise the dimensional effect.
3.3 Hooping Techniques for Garment Stability
Achieving crisp, professional 3D puff embroidery isn’t just about digitizing and stitching—it’s also about how you secure your fabric.
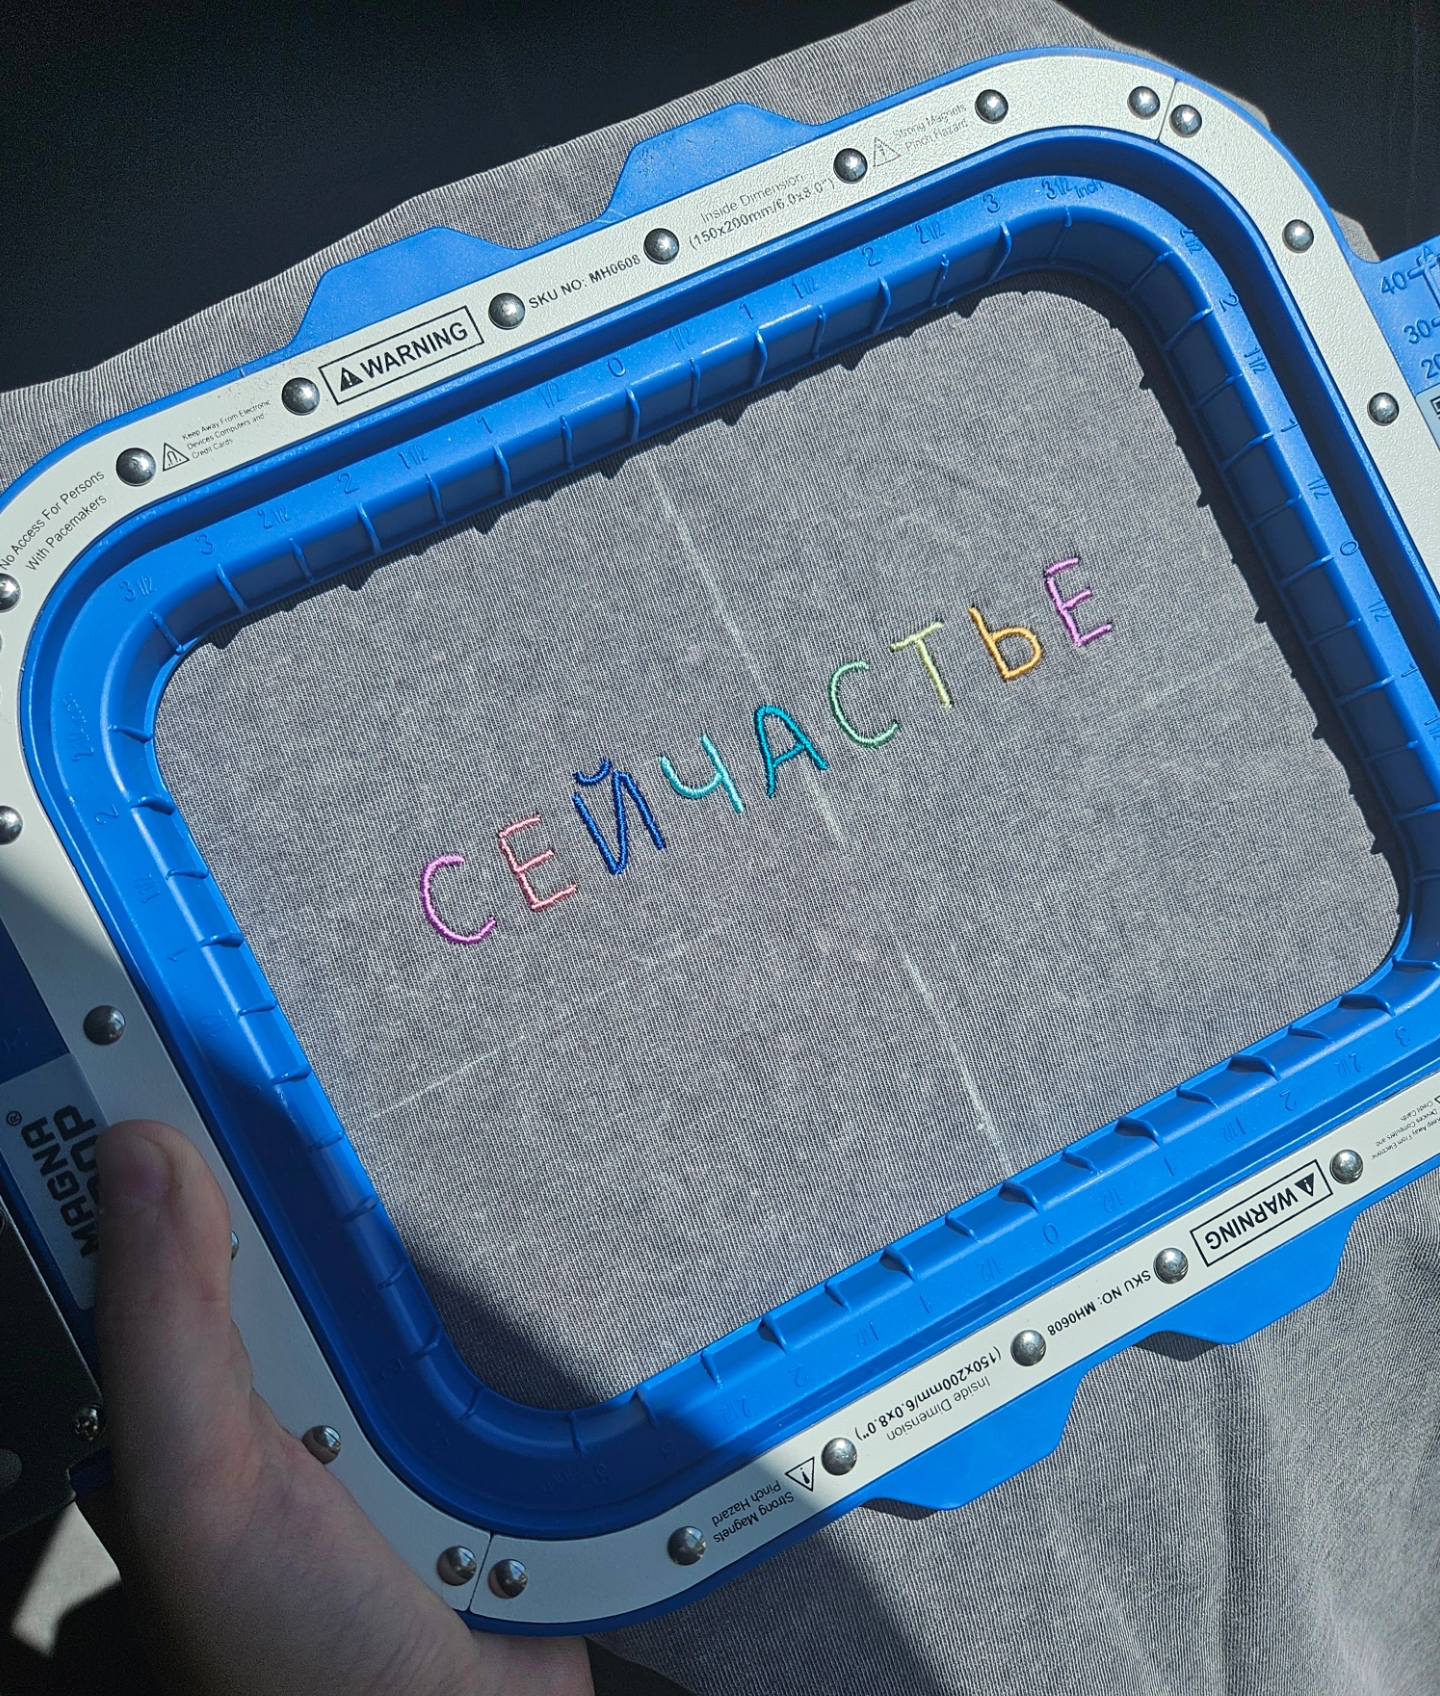
- Fabric Tension Control: For garment embroidery, using magnetic machine embroidery hoops like MaggieFrame or Sewtalent can be a game-changer. These hoops automatically adapt to different fabric thicknesses, ensuring even tension across the design area. Unlike traditional screw-based hoops, magnetic hoops are quick to set up, reduce the risk of fabric distortion, and minimize hoop marks.
- Efficiency Gains: Magnetic hoops streamline the hooping process, saving significant time—especially in high-volume production. Their strong, even grip keeps the fabric stable throughout the embroidery run, which is crucial for maintaining the crisp edges and dimensionality that 3D puff embroidery demands.
- User-Friendly Operation: Simply align your fabric, place it in the magnetic hoop, and you’re ready to go. This not only improves consistency but also reduces operator fatigue, making it ideal for both beginners and professionals.
By combining thoughtful digitizing, careful foam application, and advanced hooping techniques, you’ll unlock the full potential of 3D puff embroidery—turning ordinary logos into tactile works of art that command attention and invite touch.
4. Design Inspiration and Industry Applications
4.1 Cap and Apparel Branding
If you’ve ever admired the bold, sculpted logos on a baseball cap or the raised lettering on a sports jersey, you’ve seen 3D puff embroidery in action. This technique is the secret sauce behind those eye-catching, tactile designs that seem to leap off structured caps and apparel.
Sports logos and team branding are where 3D puff embroidery truly shines. Think collegiate-style block letters, monograms, and simple geometric icons—these are the bread and butter of puff design. Major League Baseball teams, for instance, often use puff embroidery for the main initial on their caps, creating a premium, high-impact look that commands attention and, yes, a higher price tag. The “SPARTANS” logo stitched in bold puff on a team hat is a classic example—simple, thick lines, and high visibility.
Among all substrates, Richardson 112 trucker hats have carved out a niche as the go-to canvas for 3D puff logos. To embroider on these hats, hat hoops for embroidery machines are essential for securing the cap. Their structured build provides the necessary support for the foam underlay, ensuring the dimensional effect holds its shape. Brands and companies love these hats for promotional giveaways and corporate swag, using puff embroidery to make their logos stand out in the crowd.
But it’s not just about hats. Fashion branding leverages 3D puff for minimalist icons, thick outlined logos, and even jersey numbers on jackets or hoodies—provided the fabric is sturdy enough. The key is to keep designs bold and details minimal; intricate patterns or fine text just don’t translate well with foam. Hybrid techniques are also popular, blending flat and puff embroidery in a single design. For example, a house logo might feature the main structure in 3D puff, with the address or tagline rendered in flat embroidery for clarity.
What’s the takeaway? If you want your brand to pop—literally and figuratively—on apparel, stick to bold, simple graphics and choose structured caps or heavy fabrics as your base. The result is a logo that’s not just seen, but felt.
4.2 Promotional Products and Corporate Use
3D puff embroidery isn’t just for sports teams and streetwear—it’s a powerhouse in the world of promotional products and corporate gifts. Why? Because dimensional logos create instant perceived value. When a client receives a hat, bag, or jacket with a raised, tactile logo, it feels premium—like a step above the ordinary.
Merchandise applications abound: from school booster clubs selling puff-embroidered caps as fundraisers, to companies outfitting their staff with branded jackets that make a statement. The ROI is clear—items with 3D puff embroidery can command higher selling prices than their flat-stitched counterparts. This price premium is justified by both the enhanced visual appeal and the specialized production process.
Corporate branding, in particular, benefits from the customization options 3D puff provides. Organizations can tailor cap colors, thread hues, and layout to match their brand identity. The dimensional effect means logos are visible from a distance, boosting recognition at events, trade shows, or even in everyday wear.
Educational institutions also capitalize on puff embroidery for spirit wear, mascot logos, and athletic programs. The ability to customize with school names and mascots turns ordinary merchandise into coveted keepsakes.
In short, if your goal is to elevate your promotional products and leave a lasting impression, 3D puff embroidery delivers both the wow factor and the business case.
5. Comparative Analysis: Puff vs. Other Techniques
5.1 Puff vs. Flat Embroidery
Let’s break it down: what sets 3D puff embroidery apart from classic flat embroidery? It comes down to dimension, detail, and drama.
Visual and Tactile Impact:
3D puff embroidery uses foam beneath the stitches, creating a raised, sculpted effect that casts real shadows and begs to be touched. Flat embroidery, often done on a quilting and embroidery machine, lays thread directly onto fabric, resulting in a smooth, two-dimensional finish. Puff embroidery is all about boldness and presence, while flat embroidery excels at subtlety and precision.
Detail Capability:
Flat embroidery is the champion for intricate designs, fine lines, and small text. Its smooth surface can capture complex patterns and gradients with clarity. Puff embroidery, by contrast, thrives on simplicity—thick lines, block letters, and geometric shapes. The foam underlay limits how thin or detailed a design can be, so minimalism wins the day.
Durability:
Flat embroidery generally offers better longevity, especially for designs that see heavy wear or frequent washing. The raised elements of puff embroidery can be more prone to snagging or wear over time, particularly on items that endure rough use.
Cost and Production:
Puff embroidery typically costs more than flat embroidery. Why? The process is more involved—extra materials (foam), slower machine speeds, and more post-production work (trimming foam, heat setting). But that investment pays off in perceived value and brand impact.
Here’s a quick comparison:
| Feature | 3D Puff Embroidery | Flat Embroidery |
|---|---|---|
| Dimension | Raised, tactile, shadow-casting | Smooth, flush with fabric |
| Detail Capability | Best for bold, simple shapes | Excels at intricate, detailed work |
| Durability | Good, but raised areas can snag | Excellent, withstands heavy use |
| Cost | Higher (materials, labor, time) | Lower (faster, less material) |
| Visual Impact | Dramatic, eye-catching | Subtle, refined |
Bottom line: If you want your design to leap off the fabric, puff embroidery is your go-to. For fine detail and everyday durability, flat embroidery takes the crown.
5.2 Optimal Use Cases and Limitations
So, when should you choose puff embroidery, and when is flat embroidery the smarter move?
Best Scenarios for Puff Embroidery:
- Bold Logos on Structured Fabrics:
Caps (especially structured styles like Richardson 112), varsity jackets, and bags with thick material are perfect for puff. The fabric supports the foam, keeping the design crisp and dimensional.
- Simple Graphics and Text:
Block letters, monograms, geometric shapes, and minimalist icons shine in puff embroidery. If your logo is all about making a statement, puff delivers.
- Branding That Needs to Stand Out:
Promotional products, team wear, and corporate gifts benefit from the premium, tactile feel of puff designs.
Limitations and Cautions:
- Intricate Designs:
Fine lines, small text, and detailed artwork just don’t translate well. The foam can’t support tiny elements, and the result may look messy or lose definition.
- Fabric Compatibility:
Puff embroidery needs a sturdy base. Lightweight, stretchy, or unstructured fabrics may distort or fail to support the raised effect, leading to uneven results.
- Cost and Production Time:
If you’re on a tight budget or timeline, flat embroidery is more efficient and economical.
In summary:
Go bold with puff on structured caps and simple logos. Stick with flat embroidery for complex designs, delicate fabrics, or when you need maximum durability and detail.
6. Purchasing and Production Economics
6.1 Supplier Landscape and Customization
Ready to bring your 3D puff logo to life? The supplier landscape offers a range of options, from boutique manufacturers to large-scale apparel companies.
Jin Sheu Enterprise Co., Ltd. stands out as a seasoned player, specializing in custom 3D puff embroidery patches since 1984. They cater to both small and large orders, with minimum order quantities (MOQs) starting at 50–100 pieces. Their services include high-relief puff designs, regular relief options, and a variety of customization choices—think variable sizing, custom shapes, and adjustable levels of dimension.
Riddle Apparel is another key manufacturer, known for accommodating intricate and detailed three-dimensional designs. Whether you need a handful of custom pieces or a bulk run, they can scale production to fit your needs.
Other notable suppliers include Mega Apparel (a leader in U.S. embroidery clothing manufacturing) and Star Hats and Embroidery, which specializes in custom hats, caps, and beanies but also offers puff embroidery on bags, shirts, and jackets.
Customization Process:
- Design Evaluation: Suppliers will assess your logo for puff suitability—bold lines and simple shapes are best. Complex designs may need to be simplified.
- Digitization: Your design is converted into a digital embroidery file, with stitch density and underlay settings optimized for puff.
- Sample Approval: Many manufacturers provide a sample for approval before full production.
- Order Quantities: Expect MOQs of 12–100 pieces, with volume discounts for larger orders.
Pro tip: Consult with your supplier about design adaptation. Not all logos are puff-ready, but a professional can suggest tweaks to maximize the 3D effect.
6.2 Cost Analysis and Equipment Selection
Let’s talk numbers. 3D puff embroidery commands a premium—both in production and in perceived value.
Cost Structure:
-
Material Costs:
- Foam backing: $5–$10 per pack
- Specialized thread: Up to $10 per spool
- Stabilizer: $5–$30 per yard
-
Labor and Production:
- Machines run 25–40% slower for puff embroidery due to the extra care required.
- Manual post-production (trimming foam, heat setting) increases labor hours.
-
Digitizing Fees:
- Simple designs: Lower cost
- Complex designs: Higher cost (up to $30 per design)
Pricing Premium:
3D puff embroidery typically adds $2–$5 per design over flat embroidery. For example, a custom puff-embroidered cap in a 12-piece order might sell for $25 each, compared to $7–$15 for a flat-embroidered shirt.
ROI and Profitability:
- For a 12-piece order at $25 each, material and labor costs might total $55, yielding a gross margin over 80%.
- Equipment investments (commercial embroidery machines for sale in the mid-range around $11,940) can be recouped in fewer than 50 orders, thanks to the pricing premium and high margins.
Equipment Selection:
For garment production efficiency, selecting the right hooping system is crucial. Magnetic embroidery hoops like Sewtalent (and its equivalent, MaggieFrame) offer significant advantages:
- Faster Hooping: Cuts hooping time from minutes to seconds, streamlining high-volume production.
- Consistent Tension: Ensures crisp, professional results, reducing defects and rework.
- Durability: Withstands heavy use and maintains performance over time.
By investing in efficient equipment and understanding the cost structure, businesses can maximize both productivity and profitability in 3D puff embroidery.
7. Software and Troubleshooting Guide
The leap from a good 3D puff logo to a great one starts with the right tools—and the know-how to troubleshoot when things go sideways. Whether you’re digitizing your first dimensional logo or managing high-volume production, understanding the strengths of leading software and mastering problem-solving techniques is essential. Let’s dive into the digital backbone of puff embroidery and the practical fixes for common headaches.
7.1 Digitizing Tools: Wilcom vs. Tajima
Choosing the best digitizing software for embroidery can feel like picking between a luxury sports car and a high-powered SUV—both are impressive, but each excels in different terrains. Wilcom Embroidery Studio and Tajima DG/ML by Pulse are the gold standards for 3D puff digitizing, and both bring unique strengths to the table.
| Feature | Wilcom Embroidery Studio | Tajima DG/ML by Pulse |
|---|---|---|
| Platform | Windows | Windows |
| Core Strength | Advanced editing, CorelDRAW integration | Apparel/textile optimization |
| 3D Puff Capabilities | Granular density control, realistic effects | Specialized textile workflows |
| File Format Support | 20+ formats (.DST, .PES, etc.) | Extensive |
| Target Applications | Commercial, professional digitizers | Fashion/apparel industry |
| Learning Curve | Steep | Moderate |
| Price Range | Premium (~$3,499) | Premium (varies) |
Wilcom Embroidery Studio is revered for its advanced stitch editing and seamless CorelDRAW integration, letting you move fluidly from vector art to embroidery. Its suite includes auto-outline, auto-appliqué, and auto-digitizing—ideal for complex, dimensional logos. Wilcom’s font library is loaded with options optimized for puff, and its stitch simulation is highly accurate, making it a favorite for commercial shops that demand consistency across machines and orders.
Tajima DG/ML by Pulse shines in large-scale textile environments, especially where workflow efficiency and networked production matter. Its integration with Adobe Illustrator and PulseCloud services streamlines everything from design management to production monitoring. For fashion and branded merchandise, Tajima’s specialized tools and flexible workflows help digitizers quickly adapt designs for 3D puff applications.
Skill Development Tip: Both platforms require technical expertise, but Wilcom’s feature set means a steeper learning curve—think of it as learning to drive a stick shift after years of automatics. Tajima, while still professional-grade, offers more structured workflows that can help new users ramp up faster.
In Practice: YouTube tutorials like "Turning a Silhouette into 3D Puff Satin Stitches" and "3D Foam Puff Digitizing with Tajima DG/ML14 by Pulse" reveal the nitty-gritty: breaking designs into segments, setting tight satin stitch densities, and sequencing for optimal foam coverage. Both software suites allow for creative manipulation—splitting wide shapes, capping open ends, and simulating the final puff effect before you ever hit "start" on the machine.
Bottom line: For intricate, multi-machine shops, Wilcom’s versatility is hard to beat. For streamlined apparel production and networked environments, Tajima offers a robust, scalable solution. Either way, mastering your software is the first step to mastering 3D puff embroidery.
7.2 Solving Common Production Issues
Even the best digitized file can hit a snag—literally. 3D puff embroidery introduces unique challenges, from foam tearing to stitch density woes. Here’s how to tackle the most common issues, blending insights from industry research and hands-on YouTube demonstrations.
Foam Tearing
Foam tearing is the arch-nemesis of puff embroidery. It usually shows up as shredded, uneven foam poking through your stitches, ruining the dimensional effect. The culprits?
- Stitch Density Imbalances: Too dense, and the needle perforates the foam into oblivion; too loose, and the foam shifts or peeks through. The sweet spot for most projects is a density between 0.16–0.22mm—test on scraps before the real deal.
- Needle Selection: Use sharp 75/11 or 80/12 needles. Dull or oversized needles create ragged holes, while undersized ones can struggle to pierce the foam cleanly.
- Stitch Width: Keep satin stitches under 12mm. Anything wider can cause foam displacement and tearing, or even strain your machine.
Stitch Density and Material Specs
The foam itself matters—a lot. Standard thickness is 2–3mm, and matching the foam color to your thread helps camouflage any exposed bits. Too little density (below 0.16mm) leaves the foam loose; too much (above 0.22mm) risks catastrophic shredding. Remember, bold, simple designs are your friend—complex details rarely play nice with puff.
Machine Adjustments
- Thread Quality: Opt for high-quality polyester or rayon thread for strength.
- Tension Calibration: Adjust both top and bobbin tension. Too tight, and you’ll snap threads; too loose, and you’ll get loops or gaps.
- Speed: Slow down your machine for puff sections. This reduces mechanical stress and improves stitch accuracy, especially on wide satin areas.
Thread Breaks and Tension Woes
- Thread Quality: Use high-tensile thread and replace needles frequently—foam is tough on them!
- Machine Maintenance: Regularly check tension systems and rethread as needed. Persistent breaks may mean it’s time for a professional tune-up.
Workflow and Sequencing
- Embroidery Sequence: Complete all flat elements before adding foam. This ensures good registration and prevents foam interference.
- Foam Placement: Secure foam with a loose running stitch or temporary adhesive right before the puff sequence.
- Quality Control: Check after the tack-down stitch and again after the puff run. Remove excess foam while the garment is still hooped for best results.
Advanced Troubleshooting
- Stabilizer Selection: Use tear-away stabilizer for hats or structured garments.
- Design Adjustments: If issues persist, tweak stitch lengths, split wide areas, or simplify the design in your digitizing software.
- Foam Removal: Use tweezers for stubborn bits, and a heat tool for a clean edge.
Pro Tip: YouTube creators often show real-time problem-solving—like fixing foam that sticks out by adjusting capping stitches or tweaking stitch angles for better coverage. Don’t be afraid to pause, analyze, and adjust your design or machine settings mid-process.
With the right software, sharp needles, and a systematic approach to troubleshooting, you’ll turn every 3D puff project from "almost there" to "absolutely wow."
8. Conclusion
3D puff embroidery isn’t just a trend—it’s a statement. Its bold, dimensional logos deliver unmatched visual impact, making it the go-to for standout branding and premium merchandise. While the technique demands specialized tools, careful digitizing, and a keen eye for troubleshooting, the results are worth every bit of effort. Start with simple, bold designs, invest in professional-grade software, and don’t shy away from a little experimentation. With practice and patience, you’ll master the art—and business—of 3D puff logo embroidery.
9. Frequently Asked Questions
9.1 Q: How durable is 3D puff embroidery during washing?
A: 3D puff embroidery holds up well to regular washing when proper materials and techniques are used. Air drying is recommended, as harsh chemicals from dry cleaning can dissolve the foam and compromise the raised effect.
9.2 Q: What’s the minimum design size or line width for 3D puff embroidery?
A: The minimum recommended line width is about 0.2 inches (5 mm). Designs with thinner lines may not provide enough support for the foam, leading to poor definition or instability.
9.3 Q: What foam thickness should I use for 3D puff embroidery?
A: Standard puff foam thickness ranges from 2–3 mm. Thicker foam creates a higher, more dramatic effect, but may require design adjustments or multiple layers for nuanced shapes.
9.4 Q: Can I use regular craft foam instead of embroidery-specific puff foam?
A: While you can use craft foam in a pinch, embroidery-specific puff foam is designed to tear away cleanly from stitches, saving time and producing better results.
9.5 Q: What’s the best way to remove excess foam after stitching?
A: Gently tear away the foam while the item is still hooped. Use tweezers for small areas and a heat tool if needed for a polished finish.
9.6 Q: Are there design limitations with 3D puff embroidery?
A: Yes. 3D puff works best with bold, simple shapes and block letters. Intricate details, gradients, or small text are not suitable due to the physical properties of the foam.
9.7 Q: Can I use 3D puff embroidery on any fabric?
A: Puff embroidery is ideal for structured fabrics like caps, jackets, and bags. Lightweight or stretchy materials may not support the raised effect and can distort during stitching.
Ready to bring your logos to life? Dive into the world of 3D puff embroidery and let your creativity rise above the rest!