1. Introduction to Machine Embroidery on Shirts
Embroidery machine techniques on shirts have taken the creative world by storm, transforming everyday garments into personalized works of art. Whether you’re running a bustling embroidery studio or just exploring your first project at home, the appeal is universal: shirts offer a perfect canvas for self-expression, branding, and gifting. But as any seasoned embroiderer will tell you, the path to crisp, professional results is paved with unique challenges—think puckering, misaligned designs, or the dreaded fabric distortion.
Why do these issues crop up so often? The answer lies in the nature of shirt fabrics—stretchy knits, delicate blends, and unpredictable textures. Without the right techniques and tools, even the most inspired design can fall flat. That’s why this guide is your roadmap: we’ll walk you through step-by-step embroidery processes, break down the essential tools and materials, dive into design placement strategies, and share troubleshooting tips to keep your projects on track. By mastering the right stabilizers, hooping methods, and machine settings, you’ll not only sidestep common pitfalls like puckering but also unlock a world of creative possibilities—no matter your skill level.
Table of Contents
- 1. Introduction to Machine Embroidery on Shirts
- 2. Essential Tools and Materials for Professional Results
- 3. Step-by-Step Shirt Embroidery Process
- 4. Design Strategy and Placement Science
- 5. Troubleshooting Common Embroidery Challenges
- 6. Post-Embroidery Care and Quality Preservation
- 7. Conclusion: Mastering Shirt Embroidery
- 8. FAQ: Shirt Embroidery Essentials
2. Essential Tools and Materials for Professional Results
Achieving flawless embroidery on shirts isn’t just about artistic flair—it’s about using the right gear. Let’s break down the must-haves for your toolkit, from stabilizers and needles to adhesives and innovative hooping solutions.
2.1 Stabilizers: The Foundation of Successful Embroidery
Ask any embroidery pro, and they’ll tell you: stabilizers are the unsung heroes of shirt embroidery. Their job? To support the fabric, prevent stretching, and keep your stitches looking sharp wash after wash.
Cutaway Stabilizers: Cutaway stabilizers are the gold standard for knit shirts and other stretchy fabrics. They remain permanently attached to the garment, offering continuous support and helping your designs withstand repeated laundering and wear. For t-shirts, a medium-weight (2.5 oz) cutaway stabilizer is often recommended. Specialized variants like no-show mesh cutaway stabilizers are ideal for light-colored shirts, minimizing visibility while maintaining support.
Tear-Away and Water-Soluble Stabilizers: While cutaway is king for knits, tear-away stabilizers work well on structured, stable fabrics like denim or canvas. Water-soluble stabilizers and toppings are perfect for textured surfaces (think towels), preventing stitches from sinking into the fabric.
Weight and Brand Differences: Stabilizers come in various weights—lightweight for delicate fabrics, heavyweight for dense designs. Performance can vary between brands, so it’s wise to test a few to find your favorite. Remember, the right stabilizer is your best defense against puckering and distortion.
2.2 Needles, Threads, and Adhesives
Needles: The 75/11 embroidery needle is a staple for shirt embroidery, balancing sharpness and durability. Ballpoint needles are ideal for knits, gliding between fibers without snagging, while sharp needles are better suited for woven fabrics. Regular needle changes ensure every stitch is clean and precise.
Threads: For vibrant, long-lasting results, 40-weight polyester embroidery thread is the industry standard. Brands like Exquisite, Floriani, and Sulky are popular choices for their strength and colorfastness. Bobbin threads should be lighter (60–90 weight) and are typically black or white.
Adhesives: Temporary spray adhesives, such as Gunold KK100, are invaluable for securing fabric to stabilizers during hooping. They provide a reliable hold without leaving residue. For tricky placements, self-adhesive peel-and-stick stabilizers streamline the process, especially when hooping isn’t practical.
Supplementary Tools: Precision embroidery scissors and snips are essential for trimming threads and stabilizer edges. Disappearing ink pens or air-erase markers make accurate design placement a breeze, while template printouts from embroidery software help you visualize and align your designs perfectly.
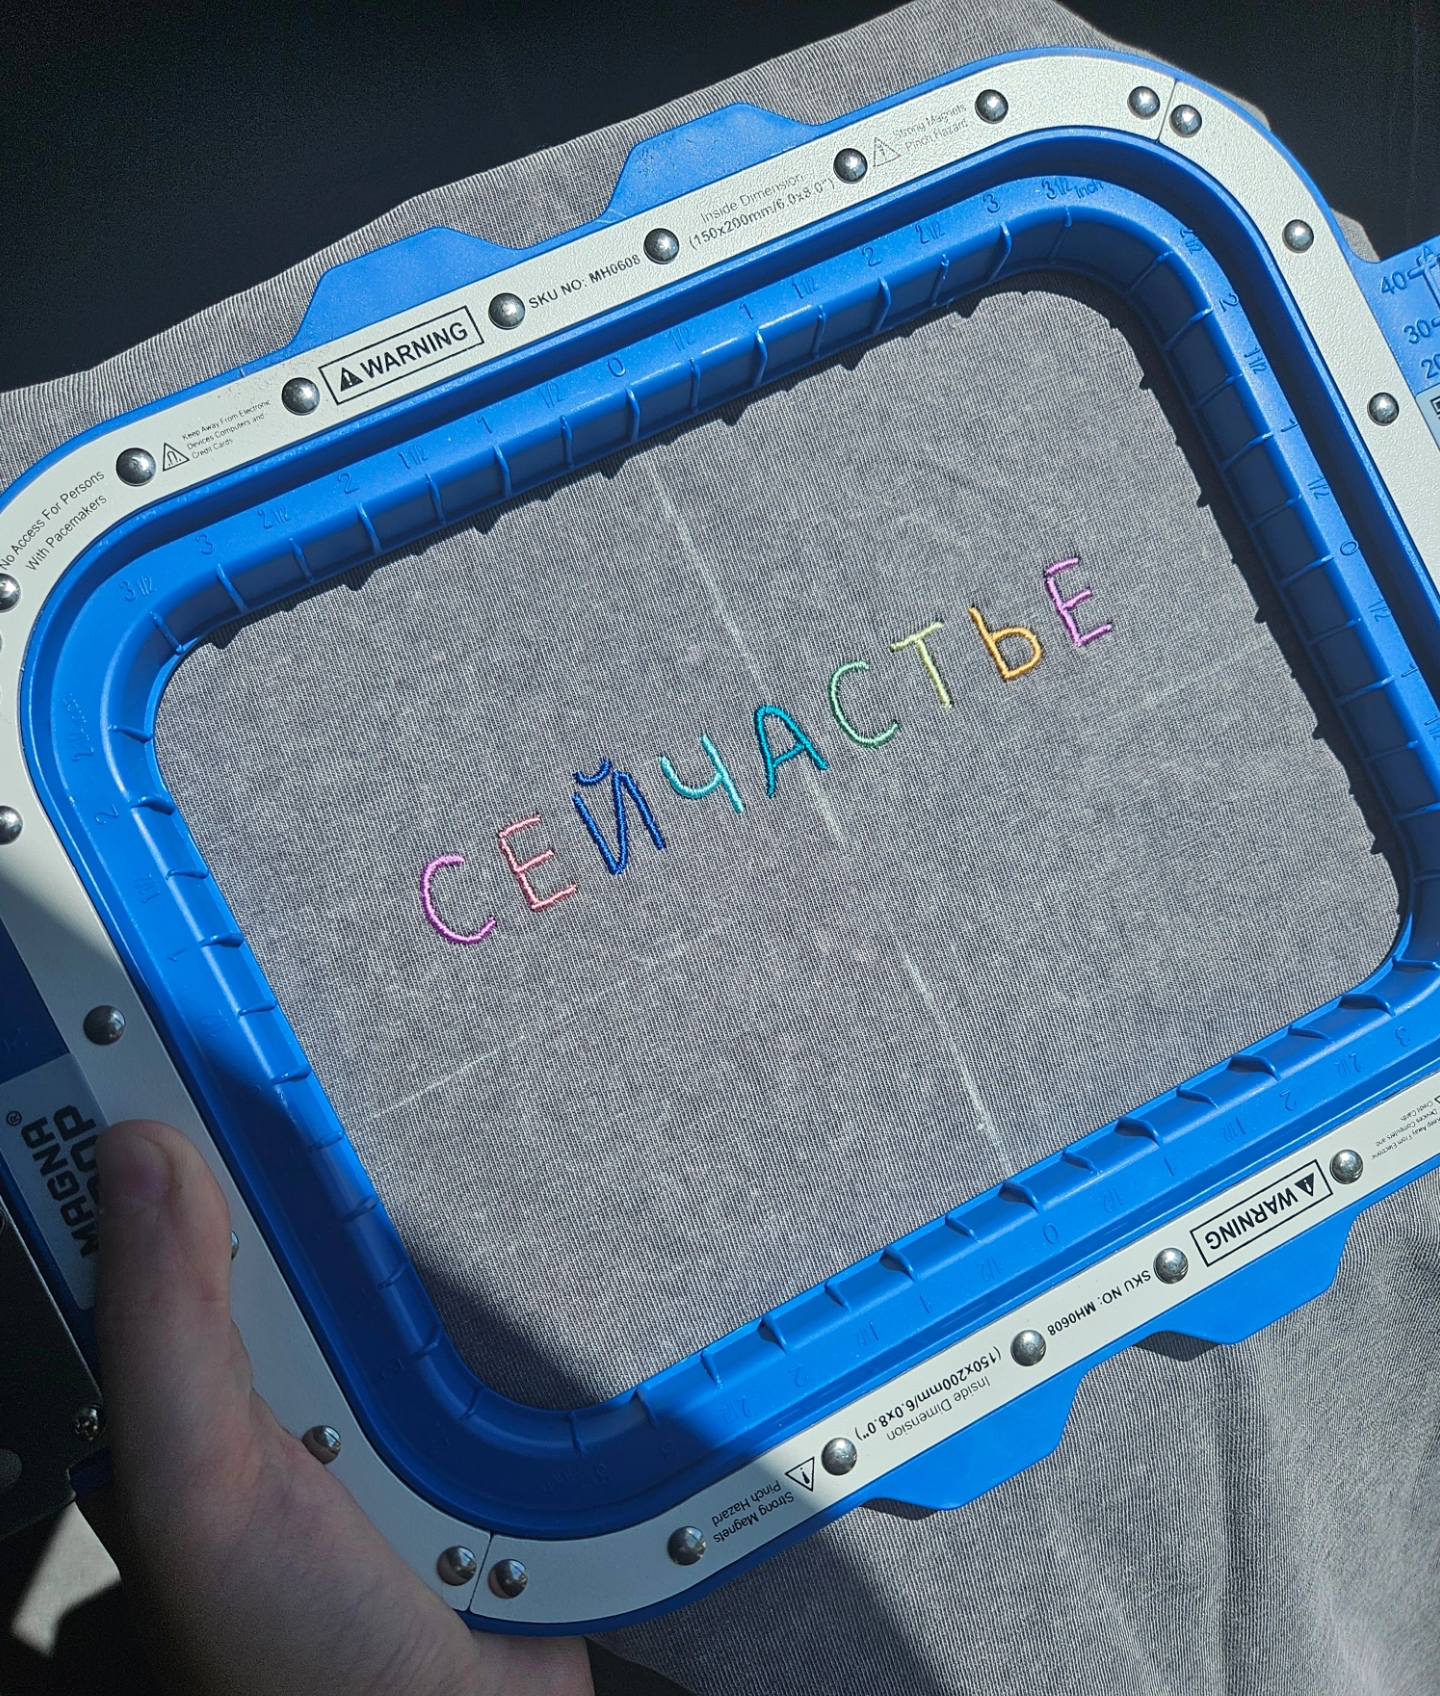
2.3 Revolutionizing Efficiency with Magnetic Hoops
Let’s talk about a true game-changer: magnetic embroidery hoops. Brands like Sewtalent—and, notably, MaggieFrame—have redefined the hooping experience for garment embroidery.
Why Magnetic Hoops? Traditional screw hoops demand patience and dexterity, often leading to fabric distortion or uneven tension. Magnetic machine embroidery hoops, on the other hand, use powerful magnets to secure fabric quickly and evenly—no manual tightening required. This not only slashes setup time by up to 90% compared to screw hoops but also reduces embroidery defects by 15%, according to brand durability tests.
Durability and Performance: Magnetic hoops like those from MaggieFrame are engineered for longevity, with robust materials and a textured surface that maintains consistent tension. They’re built to withstand high-frequency use, making them a smart investment for both home studios and commercial operations.
The Bottom Line: Switching to magnetic hoops means less time spent fiddling with fabric and more time creating. The result? Fewer mistakes, less waste, and a smoother workflow—especially when handling large batches or complex designs.
3. Step-by-Step Shirt Embroidery Process
Ready to bring your shirt embroidery vision to life? Here’s a detailed walkthrough, blending industry best practices with practical tips for every stage of the process.
3.1 Stabilizer Application and Template Positioning
Start by prepping your shirt: wash and dry it to eliminate shrinkage surprises. Print your design template and use an air-erase pen to mark the center and crosshair positions on the shirt. This ensures your embroidery lands exactly where you want it.
Next, spray temporary adhesive onto your cutaway stabilizer (not directly on the fabric). Smooth the stabilizer onto the inside of the shirt, aligning it with your markings. This method keeps the adhesive off your shirt and secures the stabilizer in place.
When using an embroidery hoop, avoid overstretching the fabric—aim for a taut but not drum-tight fit. Overstretching can lead to puckering or distortion once the embroidery is complete. If you’re working with a particularly stretchy fabric, consider using a no-show mesh stabilizer for added support and minimal visibility.
3.2 Advanced Hooping Techniques for Stretch Fabrics
For knits and other stretchy materials, inside-out hooping is a pro move. Turn the shirt inside out and position it on the stabilizer at the marked points. After initial placement, unfold the shirt to cover the stabilizer, then carefully lift the top layer to create an opening—this keeps the embroidery area flat and stable.
Magnetic hoops with textured surfaces, like those from Sewtalent or MaggieFrame, excel here. They provide superior tension control, minimizing the risk of fabric slippage or hoop burn. Compared to traditional hoops, magnetic versions have demonstrated up to 40 times greater durability in brand tests, making them a reliable choice for demanding projects.
3.3 Machine Settings and Stitching Protocols
Once your shirt is hooped and loaded into the embroidery machine, guide the fabric smoothly under the embroidery foot to prevent shifting. Use hair clips or similar tools to keep excess fabric away from the stitching area.
Modern machines often feature LED positioning systems—use these to align your design precisely with your markings. Follow the digitized design’s color sequence, changing threads as prompted for seamless transitions.
Thread tension is crucial: too tight, and you risk puckering; too loose, and stitches may look sloppy. Test on a scrap piece if you’re unsure. As you stitch, periodically check the fabric for any shifting or bunching, and clip away excess threads for a tidy finish.
Finally, after embroidery, remove the hoop and trim the stabilizer about 0.5mm from the design edge, being careful not to nick the fabric. For extra comfort, iron a protective backing onto the inside of the shirt to shield skin from stitches and stabilizer remnants.
Ready to take your shirt embroidery to the next level? With these tools, techniques, and step-by-step guidance, you’re well on your way to professional, eye-catching results—every time.
4. Design Strategy and Placement Science
Embroidery isn’t just about what you stitch—it’s about where and how you stitch it. The difference between a shirt that looks “homemade” and one that screams “professionally crafted” often comes down to smart design selection and pinpoint placement. Let’s break down the science behind embroidery design strategy and placement, so your shirts always make a statement for the right reasons.
4.1 Selecting Embroidery-Friendly Designs
Choosing the right design is the foundation of flawless shirt embroidery. The golden rule? Simplicity reigns supreme. Overly intricate designs or logos can become muddled or lose clarity when translated into stitches, especially within the limited canvas of a shirt. That means it’s wise to pare down: remove extra words, dates, and even colors that might crowd your artwork.
Technical Design Specs:- Detail Minimum: Any element in your design should be at least 0.05 inches (4 points) thick. This ensures the thread covers the area well and the details remain crisp.
- Text Sizing: For legibility, uppercase letters should measure at least 0.3 inches high, while lowercase letters should be no smaller than 0.25 inches.
- Color Limit: Embroidery is a different beast from printing—thread colors can’t be blended on the fly. Limit your palette to a maximum of six thread colors per design. This keeps the look sharp and avoids muddy transitions.
- Stitch Count Management: For standard chest placements (typically 4 x 4 inches), keep the stitch count under 15,000. Larger designs (up to 10 x 6 inches) may allow for more stitches, but beware: more complexity means more chances for distortion or production slowdowns.
Simple, open designs with clean edges and bold color blocks tend to translate best to shirts. You can find many free machine embroidery designs online that meet these criteria. Heavy, dense fills can weigh down the fabric, making it stiff or prone to puckering. Think of it like this: a single, bold motif or monogram will usually outshine a crowded, hyper-detailed scene.
Quality Control Tip:Before committing to a run of shirts, always test your design on a fabric sample. This lets you verify that your chosen details, text size, and color transitions hold up in real stitches—not just on screen.
4.2 Precision Placement Measurements
You’ve got your design—now, where should it go? Placement is both art and science, and a few standard measurements can help you achieve that “just right” look every time.
Standard Placements:- Left Chest (Polo/Golf Shirts): Position the design 7–9 inches down from the left shoulder seam, centered between the placket and side seam. Alternatively, place it 4–6 inches to the right of the placket.
- T-Shirts (No Pocket): Follow the same 7–9 inch rule from the shoulder seam, but center the design between the shirt’s center and side seam, or 4–6 inches to the right of center.
- V-Necks: For V-neck shirts, start the design about 2 inches down from the point of the V for a balanced look.
If your shirt has a pocket, center the design directly above or on the pocket. This keeps the embroidery visually anchored and avoids awkward overlaps.
Templates and Marking:Use printed templates from your embroidery software to visualize placement. Mark the shirt with an air-erase pen at the center and crosshair points—these will become your guideposts when hooping. High-ranking tutorials recommend this method for its accuracy and repeatability.
Garment-Specific Tweaks:Shirt style, fabric weight, and intended use all influence placement. For button-downs, stick to the 7–9 inch guideline, but always check proportions against the actual garment. For oversized or petite shirts, adjust measurements as needed to keep the design proportional.
Pro Tip:Always hoop your shirt so the fabric sits naturally—never stretched or bunched. This prevents distortion and ensures your perfectly placed design stays put after washing and wearing.
5. Troubleshooting Common Embroidery Challenges
Even with the best prep, embroidery can throw you a curveball. Thread breaks, puckering, and alignment errors are every embroiderer’s rite of passage—but with a systematic approach, you can solve these issues like a pro.
5.1 Solving Thread Breakage and Puckering
Thread Breakage:
Thread breaks are often the result of issues in the upper thread path or needle problems. Start by simulating the stitching process with your machine’s handwheel, advancing the needle slowly to spot exactly where the break occurs. Clean the thread path with a small brush or unwaxed dental floss to remove lint and debris. Always rethread with the presser foot up—this opens the tension discs for proper threading.
Check your thread quality and compatibility. Sometimes, simply switching to a different thread brand or adjusting the spool’s orientation (vertical vs. horizontal) can resolve persistent breakage. Don’t overlook the needle: a fresh, ballpoint needle is ideal for knits, while sharp needles suit wovens. Replace any deformed or worn needles promptly.
Puckering and Fabric Distortion:
Puckering usually stems from improper hooping or insufficient stabilization. Avoid stretching the fabric when hooping—aim for taut, not tight. For delicate or stretchy shirts, floating the project (placing the fabric on top of the hooped stabilizer without hooping the fabric itself) can prevent “hoop burn” and distortion.
Stabilizer selection is crucial. Match the stabilizer type and weight to your fabric and design density. If puckering appears mid-stitch, pause and add an extra stabilizer layer. Stitch direction also matters: working from the center outward allows the fabric to relax naturally, reducing tension and puckering.
Tension Testing:
Imbalanced thread tension can pull fabric out of shape or leave stitches loose. Always test on a scrap before starting your main project, and adjust tension as needed for smooth, even stitches.
5.2 Fixing Registration Errors and Fabric Distortion
Registration Errors (Misaligned Outlines):
When outlines don’t match up with fill stitches, the culprit is often poor stabilization or hooping—not digitizing. Ensure your stabilizer fully supports the entire design area, and that your hoop holds the fabric securely without shifting.
Magnetic Hoop Advantages:
Magnetic hoops, such as those from MaggieFrame, offer even, consistent tension across the embroidery area. Their textured contact surfaces grip fabric firmly, minimizing movement and reducing the risk of registration errors. This is especially helpful for thin or stretchy shirts, where traditional hoops may struggle to maintain alignment.
Stitching Direction Protocols:
Stitch from the center outward to allow the fabric to move naturally, preventing bunching and misalignment. For complex designs, consider breaking up the embroidery into smaller sections to maintain precision.
Solutions for Thin/Stretchy Fabrics:
Thin or stretchy shirts may require multiple stabilizer layers and careful tension calibration. Use spray-and-bond adhesives to temporarily secure the fabric, and consider water-soluble toppers to keep stitches from sinking into the fabric’s texture.
Hoop Burn Remediation:
If hoop marks appear, gently steam or iron the area from the reverse side, using a pressing cloth to avoid direct heat on the embroidery.
Diagnostic Approach:
When troubleshooting, start slow—use the handwheel to observe the embroidery process in detail. Address one variable at a time: thread path, tension, stabilizer, hooping, and environmental factors like humidity.
6. Post-Embroidery Care and Quality Preservation
You’ve stitched the perfect design—now, how do you keep it looking sharp for the long haul? Proper post-embroidery care is the secret to vibrant, long-lasting shirts that stand up to wear, washing, and time.
6.1 Washing and Drying Protocols
Hand Washing: Hand washing is the gold standard for embroidered shirts. Use cold or lukewarm water with a mild detergent, and soak the garment for 10–15 minutes. Gently swirl—never scrub or wring—to avoid damaging the threads. For stains, use gentle fingertip pressure rather than aggressive rubbing.
Machine Washing: If you must machine wash, turn the shirt inside out and place it in a mesh laundry bag. Use cold water and a delicate cycle with mild detergent. Wash embroidered garments separately from items with zippers or buttons to prevent snags. Never use bleach or fabric softeners, as these can weaken threads and cause color fading.
Temperature Guidelines: Always use cold water (up to 30°C) to prevent color bleeding and thread weakening. For traditional embroidery, higher temperatures may be tolerated, but digital or polyester prints require cooler washes.
Drying: Avoid wringing out embroidered shirts. Instead, lay the garment flat on a towel, roll it up, and press gently to absorb moisture. Air dry flat or hang on a rack away from direct sunlight. If using a dryer, preheat and remove the shirt promptly to avoid creasing.
Special Note on Rayon Threads: Rayon threads require extra care—follow specific laundering guidelines and avoid harsh chemicals to preserve their sheen and strength.
6.2 Finishing and Long-Term Maintenance
Trimming and Backing: After embroidery, trim excess stabilizer about 0.5mm from the design edge. For added comfort, iron a protective backing (such as Sulky Soft Touch) onto the inside of the shirt. This shields skin from scratchy threads and stabilizer remnants.
Ironing Techniques: Always iron embroidered shirts from the reverse side, ideally between two cloths to protect the threads. Use a dry, medium-heat setting—avoid steam, which can cause color bleeding or thread shrinkage. Never wet the embroidery before ironing.
Storage Best Practices: Store embroidered shirts flat or hung up to prevent creasing across the design. Never fold wet embroidery, as this can create permanent creases and thread displacement.
Mixed Embellishments: For shirts with beads, sequins, or metallic threads, hand washing is best. Machine washing can damage these delicate elements.
Professional Care: Dry cleaning is an option, but always inform your cleaner about the embroidery. Avoid pre-spotting agents on dark shades, which can cause chemical damage.
Pre-Wash Inspection: Before washing, inspect for loose threads and secure them to prevent unraveling during the cycle.
By following these care and maintenance protocols, you’ll keep your embroidered shirts looking crisp, colorful, and comfortable—ready to turn heads for years to come.
---
7. Conclusion: Mastering Shirt Embroidery
Mastering shirt embroidery is a journey that blends technical know-how with creative flair. At its core, success comes down to three essentials: proper stabilization, precision hooping, and smart design choices. Consistent use of the right stabilizer—especially cutaway for knits—keeps your stitches crisp and your fabric distortion-free. Precision in hooping, whether you’re working with traditional hoops or leveraging the efficiency of magnetic hoops like those from MaggieFrame, ensures your designs stay perfectly aligned and your workflow remains smooth. And let’s not forget the importance of design strategy: choosing embroidery-friendly patterns and thoughtful placement elevates your shirts from homemade to professional.
The right tools, like MaggieFrame’s magnetic hoops and the best embroidery sewing machine, can truly transform your embroidery experience—reducing setup time, minimizing defects, and delivering reliable results project after project. But above all, practice is your best teacher. Every shirt you embroider is a step forward, building your confidence and skill. So embrace the process, experiment boldly, and enjoy the satisfaction of turning blank shirts into wearable art.
8. FAQ: Shirt Embroidery Essentials
8.1 Q: What type of stabilizer should I use for embroidering shirts?
A: For most shirts, especially knits like t-shirts, a medium-weight cutaway stabilizer is recommended. It provides ongoing support and helps prevent distortion during wear and washing. For lighter fabrics or textured surfaces, consider using a no-show mesh or water-soluble stabilizer.
8.2 Q: How do I prevent puckering when embroidering on stretchy fabrics?
A: Puckering is often caused by overstretching the fabric during hooping or using the wrong stabilizer. Always hoop the fabric taut but not stretched, and use a cutaway stabilizer for knits. Testing your setup on a scrap piece before embroidering your shirt can help identify and resolve potential issues.
8.3 Q: What’s the ideal thread tension for shirt embroidery?
A: Thread tension should be balanced—too tight can cause puckering, while too loose leads to sloppy stitches. Start with your machine’s default settings, then adjust as needed based on test stitching. Using high-quality embroidery thread and a fresh needle also contributes to optimal results.
8.4 Q: How do I determine the right design size for my shirt?
A: For standard left chest placements, keep your design around 4 x 4 inches or less than 15,000 stitches. Larger designs (up to 10 x 6 inches) can be used for back or center placements, but always consider the shirt size and fabric type to avoid overwhelming the garment.
8.5 Q: How often should I wash embroidered shirts, and what’s the best way to care for them?
A: Wash embroidered shirts inside out in cold water (up to 30°C) on a gentle cycle, or hand wash for best results. Avoid bleach and fabric softeners, and air dry flat or hang to prevent creasing. Iron from the reverse side using a pressing cloth to protect the embroidery.
8.6 Q: How can I keep my embroidery stitches from coming undone?
A: Secure your starting and ending threads by weaving them into the back of the embroidery rather than tying knots, which can distort stretchy fabrics. For extra comfort and durability, iron a protective backing over the design on the inside of the shirt.
8.7 Q: What’s the best way to mark placement for embroidery on shirts?
A: Use air-erase pens or washable markers to mark the center and crosshair points on your shirt. Printed templates from embroidery software can also help visualize and align your design before hooping.
With these answers in your toolkit, you’re ready to tackle your next shirt embroidery project with confidence and creativity!