1. Introduction: Unlocking Efficiency with Cone Thread
Tired of swapping tiny spools mid-project? Cone thread is the simple upgrade that keeps your stitches flowing. With far greater capacity than standard spools, cones reduce stops, preserve color consistency across large makes, and save money per yard. In this guide, you’ll learn the thread engineering basics, how to set up cone thread on a home machine (DIY holders, threading paths, tension fixes), what to buy, and pro techniques. Pair smart thread choices with stable tools (needles, presser feet, well-fitted embroidery hoop) to keep your sewing smooth from start to finish.
Table of Contents
- 1. Introduction: Unlocking Efficiency with Cone Thread
- 2. What is Cone Thread? Structure, Advantages & Applications
- 3. Home Machine Setup: DIY Holders, Threading & Tension Fixes
- 4. Buying Guide: Top Brands, Types & Cost-Effective Sources
- 5. Pro Techniques: Industrial Efficiency & Long-Term Storage
- 6. Elevating Garment Embroidery with Sewtalent Magnetic Hoops
- 7. Conclusion: Streamlining Your Workflow End-to-End
- 8. FAQ: Cone Thread & Machine Embroidery Solved
2. What is Cone Thread? Structure, Advantages & Applications
Cone thread is a larger, differently wound put-up of sewing thread designed to feed from the top. Its construction changes how the thread leaves the package—directly affecting tension, stitch consistency, and speed—especially for bulk sewing.
2.1 Cross-Wound vs. Stack-Wound: Engineering Differences
- Cross-wound (cone) Cone thread is wound diagonally in visible X patterns and is meant to feed vertically from the top. As it comes off the apex, the path naturally adds twist, which can increase strength and help reduce tension problems during sewing.
- Stack-wound (traditional spools) Most small spools are wound in straight, horizontal layers and are designed to pull from the side on a horizontal or vertical spool pin. Side-feeding spools can run fine on home machines, but they don’t benefit from the top-fed twist stabilization that cross-wound cones provide.
The takeaway: cross-wound cones plus a top-feed path = smoother delivery and fewer tension hiccups on extended runs.
2.2 Capacity & Cost Efficiency: Bulk Sewing Benefits
- Big yardage, fewer interruptions Typical small spools hold about 200–500 yards. Cones commonly carry around 3,000 yards and can reach 6,000 yards or more. Longer continuous runs mean fewer breaks mid-quilt or mid-garment.
- Per-yard savings and less waste Cones often cost 20–30% less per yard thanks to bulk packaging and handling efficiencies. You’ll also discard fewer containers over time.
- Color consistency across large projects Using one cone for the whole project keeps you in a single dye lot, avoiding subtle shade shifts that can happen when you mix multiple small spools.
2.3 Ideal Use Cases: Quilting, Industrial & Serger Applications
- Machine quilting and long runs Dense quilting, free-motion, and edge-to-edge designs demand continuous thread. Cones help maintain flow and tension consistency over large surfaces.
- Industrial and commercial sewing Professional setups favor cones for high-speed, extended operation. You’ll find heavy-use winding and production setups in industry videos demonstrating high-speed cone thread winding for continuous output.
- Sergers and overlockers Serger thread is essentially all-purpose thread on a cone, optimized to feed from the top. Because sergers consume thread quickly, cones are the practical, economical choice.
3. Home Machine Setup: DIY Holders, Threading & Tension Fixes
You can absolutely use cone thread on a domestic machine—you just need to guide it correctly so it feeds from the top without dragging or bouncing.
3.1 DIY Holder Solutions Using Household Items
- The mug method (quick and easy) Place the cone upright in a mug behind the machine. Guide the thread up and over a point above the machine (then into your normal threading path). This simple hack works well as a temporary solution.
- Binder clip guide Clip a binder clip to an existing spool pin or a nearby surface; use the clip arms as a guide point so the thread rises vertically before entering the machine.
- Safety pin or paper clip hook Tape a large safety pin (or a bent paper clip) to the back of the machine so the thread can pass through the “hook” and go up before moving forward to the tension path.
- CD holder or bowl Seat the cone in a CD holder or small bowl to keep it stable, then route the thread upward via a taped guide (paper clip/safety pin) so it feeds from the top.
- Floor + chair-back path Set the cone on the floor and run the thread over the back of a chair behind the machine, then into the machine. This creates the vertical rise cones need.
- When to buy a stand If you sew with cones often, a dedicated thread stand (commonly around $13–$15) keeps the feed vertical and out of the machine’s way for a cleaner, more permanent setup.
-
Helpful accessories
- Cone inserts: If a large-hole spool wobbles on your pin, inexpensive cone inserts fill the core so it stays stable.
- Thread nets (“handy nets”): Slip a net over smooth or delicate threads (like metallics or trilobal poly) to prevent thread from sliding down the cone and to keep unwinding smooth. Nets also help during storage to prevent tangling.
3.2 Thread Path Optimization & Tension Troubleshooting
- Build a vertical path Cones must feed from the top. Guide the thread straight up first (via a stand, taped safety pin/paper clip, or binder clip), then through your machine’s normal threading sequence and tension discs. This prevents bouncing and drag that cause tension swings.
-
Five-step tension reset (fast and reliable)
- Clean and oil the machine.
- Re-thread the top thread carefully.
- Replace the needle.
- Rewind and rethread the bobbin.
- Verify bobbin tension, then fine-tune upper tension.
-
Reading the stitch
- Bobbin thread showing on top? Loosen top tension (lower the number).
- Top thread nesting underneath? Tighten top tension (raise the number).
- Fine threads and adjustments With finer threads, tighten upper tension (turn clockwise/increase the number) to seat stitches properly. Always confirm bobbin setup before chasing top tension.
- Thread weight compatibility Most home machines handle threads up to about Tex 70, with common cone options including Tex 30, Tex 45, and Tex 70. Match weight to your fabric and needle for smoother results.
- Bobbin winding matters Wind evenly; don’t overfill. Over-wound bobbins create overly tight bottom tension and can snap thread.
- Path and spool checks Keep the path clear of snags. Check cones/spools for nicks. Put cross-wound spools on vertical pins; orient straight/stack-wound spools so thread exits from the back.
- When to add aids Metallics and slick threads benefit from thread nets to tame slippage. If a large-core spool wobbles on your pin, add cone inserts so feeding stays consistent.
Ready to sew longer with fewer stops? Get your cone path vertical, follow the five-step tension reset when needed, and consider a low-cost stand if you’re using cones regularly.
4. Buying Guide: Top Brands, Types & Cost-Effective Sources
The right cone thread saves money, time, and headaches. Here’s how to choose materials that fit your project, pick proven brands, and buy smart for the best value.
4.1 Thread Material Showdown: Polyester, Nylon & Cotton
- Polyester (go-to for most sewing)
- Why it wins: strong, durable, and flexible—ideal for continuous runs and construction seams.
- Core-spun polyester stands out in cone applications thanks to superior strength, durability, and handling. It’s engineered for smooth, professional seams across diverse fabrics.
- General-purpose cones are commonly 100% polyester, making them a workhorse for garments and quilt tops.
- Nylon (high-speed serging environments)
- Designed to withstand the demanding conditions of sergers/overlockers, nylon is selected for breaking resistance at speed with multiple thread feeds.
- Cotton (natural fiber projects and low-stress seams)
- Suits machine quilting, loose-fitting garments, and projects where natural fiber is preferred.
- Note the trade-off: cotton has inferior strength compared to polyester, so reserve it for lower-stress applications.
- New to sewing? Start with all-purpose polyester
- As shared in beginner-friendly video guidance, all-purpose polyester covers most garment and everyday projects and offers the broadest color availability.
4.2 Brand Performance: Aurifil, Gütermann & Budget Picks
- Premium leaders
- Aurifil: Italian long-staple cotton with refined spinning. Documented pricing includes $14.99 for 1422-yard spools (Apr 2024). Users often test 50 wt vs 40 wt; the flatter lay can extend bobbin longevity.
- Mettler: Long-staple construction aimed at strength and reduced breakage. Offers 100% cotton with a smooth finish and even pure silk options.
- Gütermann: Reliable quality with low-lint polyester options and sturdy cotton—consistently dependable for hobbyists and pros.
- Specialized serger choices
- MaxiLock and SureLock are recognized for durability in high-speed serging.
- Other established names in the cone space include American & Efird, brothreads, Coats, Gutermann, Metler, Serafil, and Simthread.
- Accessible, widely available
- Coats & Clark: Economical, broad color range, and easy to find at mainstream craft chains such as Joann Fabrics—great for entry-level buyers.
Tip: Match thread weight to visibility and coverage. 50 wt is versatile; 40 wt adds presence; 28 wt is specialty-thick. For most construction, a quality 50 wt polyester cone is a safe, cost-effective bet.
4.3 Where to Buy: Online Markets vs. Specialty Retailers
- Specialty sewing/quilting retailers
- Best for breadth of cone options and expert guidance. You’ll find premium brands and staff who can help you match thread to your fabric and machine.
- Online marketplaces
- Great for bulk purchasing and price comparisons. Access manufacturer-direct channels and larger cone sizes for better per-yard value.
- Mainstream craft stores
- Convenient for picking up accessible brands like Coats & Clark (often with promotions), especially if you’re just getting started.
- Buying strategies for value
- Leverage volume economics: larger cones reduce per-yard cost and cut changeover time.
- If you sew with cones frequently, consider adding a low-cost thread stand to maintain a clean, vertical feed. Handy accessories like cone inserts can stabilize large-core spools, and thread nets help delicate/slick threads unwind smoothly.
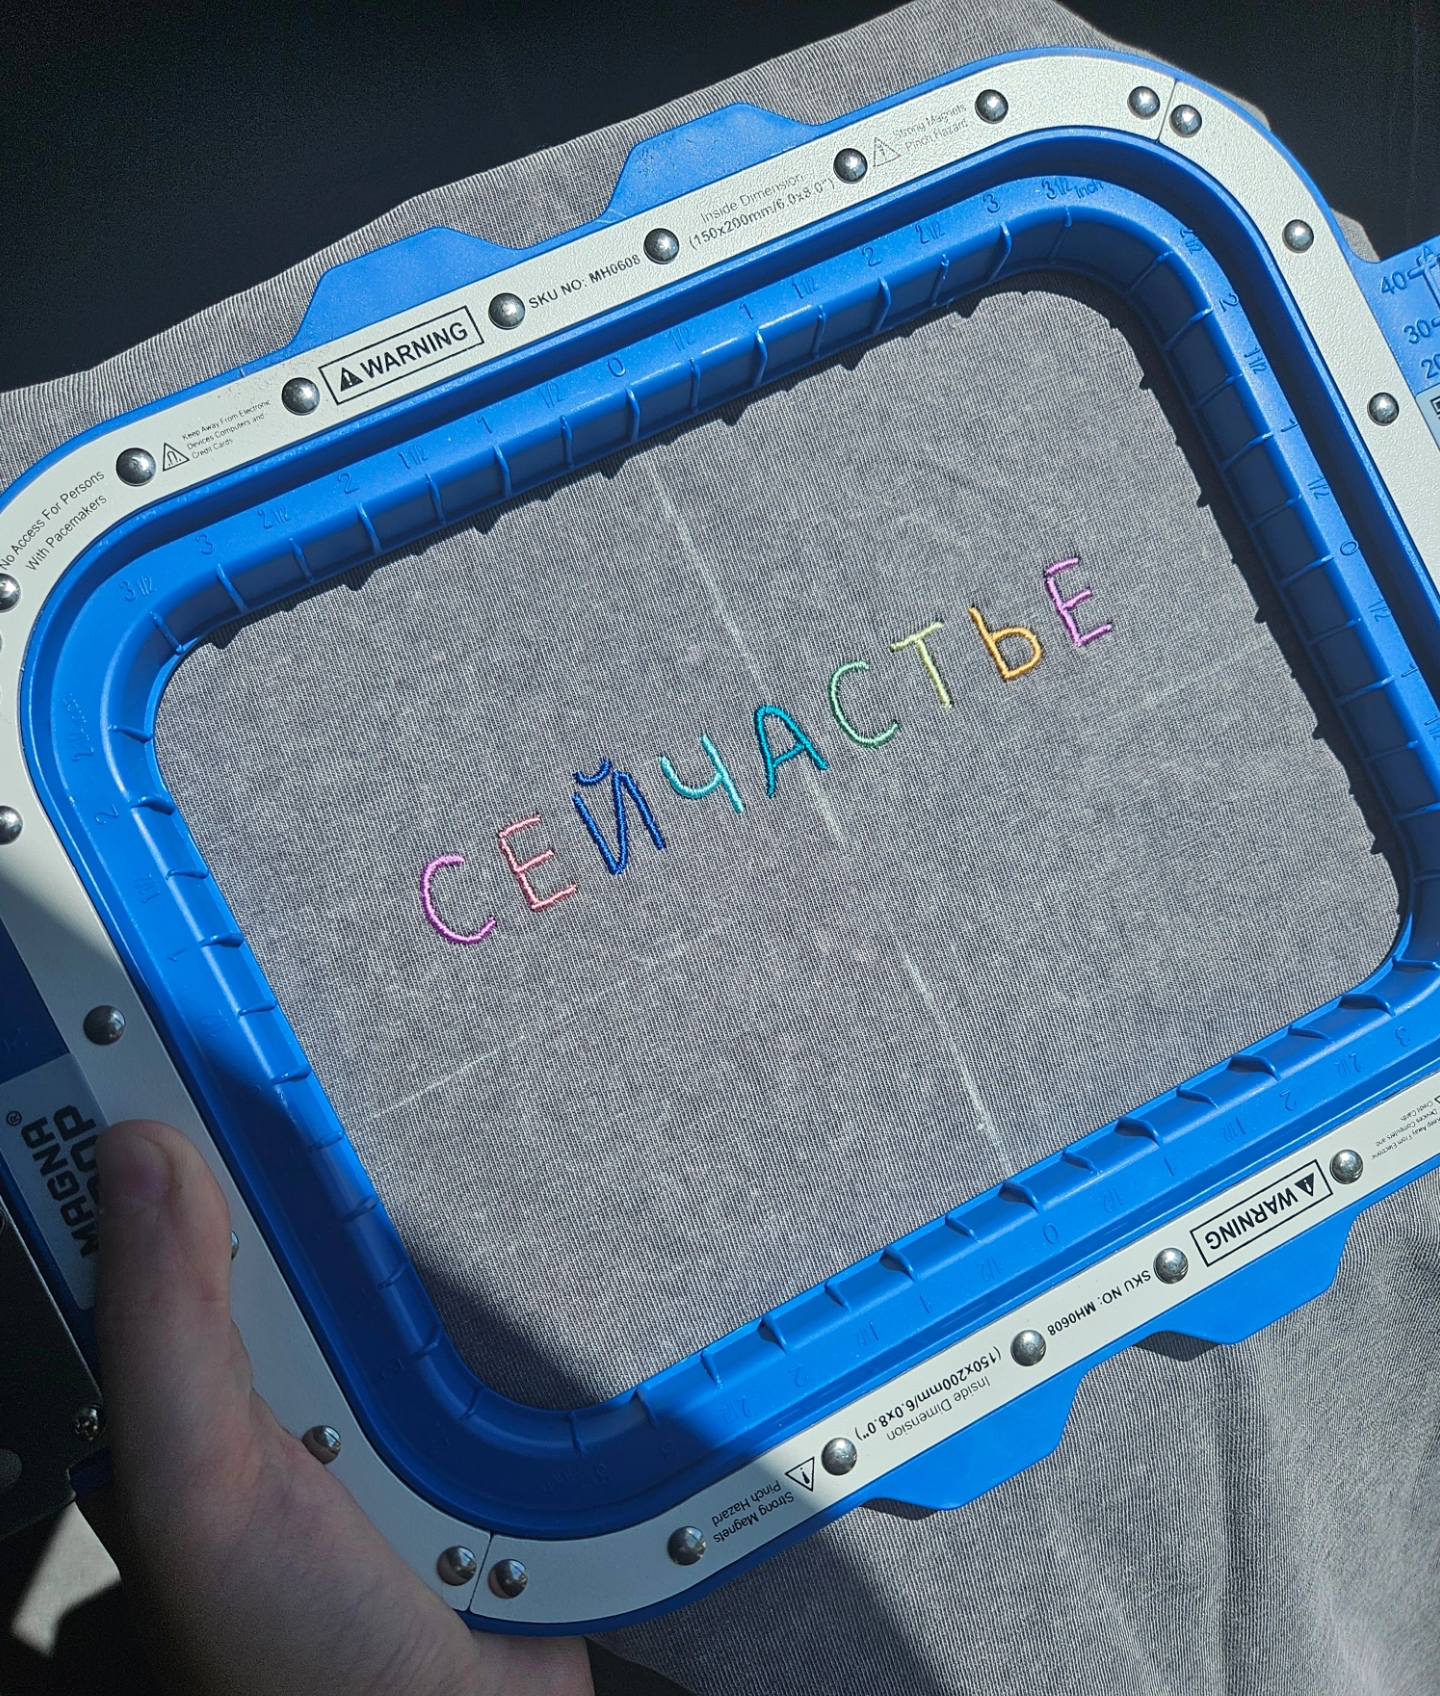
6. Elevating Garment Embroidery with Sewtalent Magnetic Hoops
Magnetic machine embroidery hoops change the way fabric sits under the needle—faster hooping, steadier tension, fewer do-overs. Here’s how to use them to level up garment embroidery.
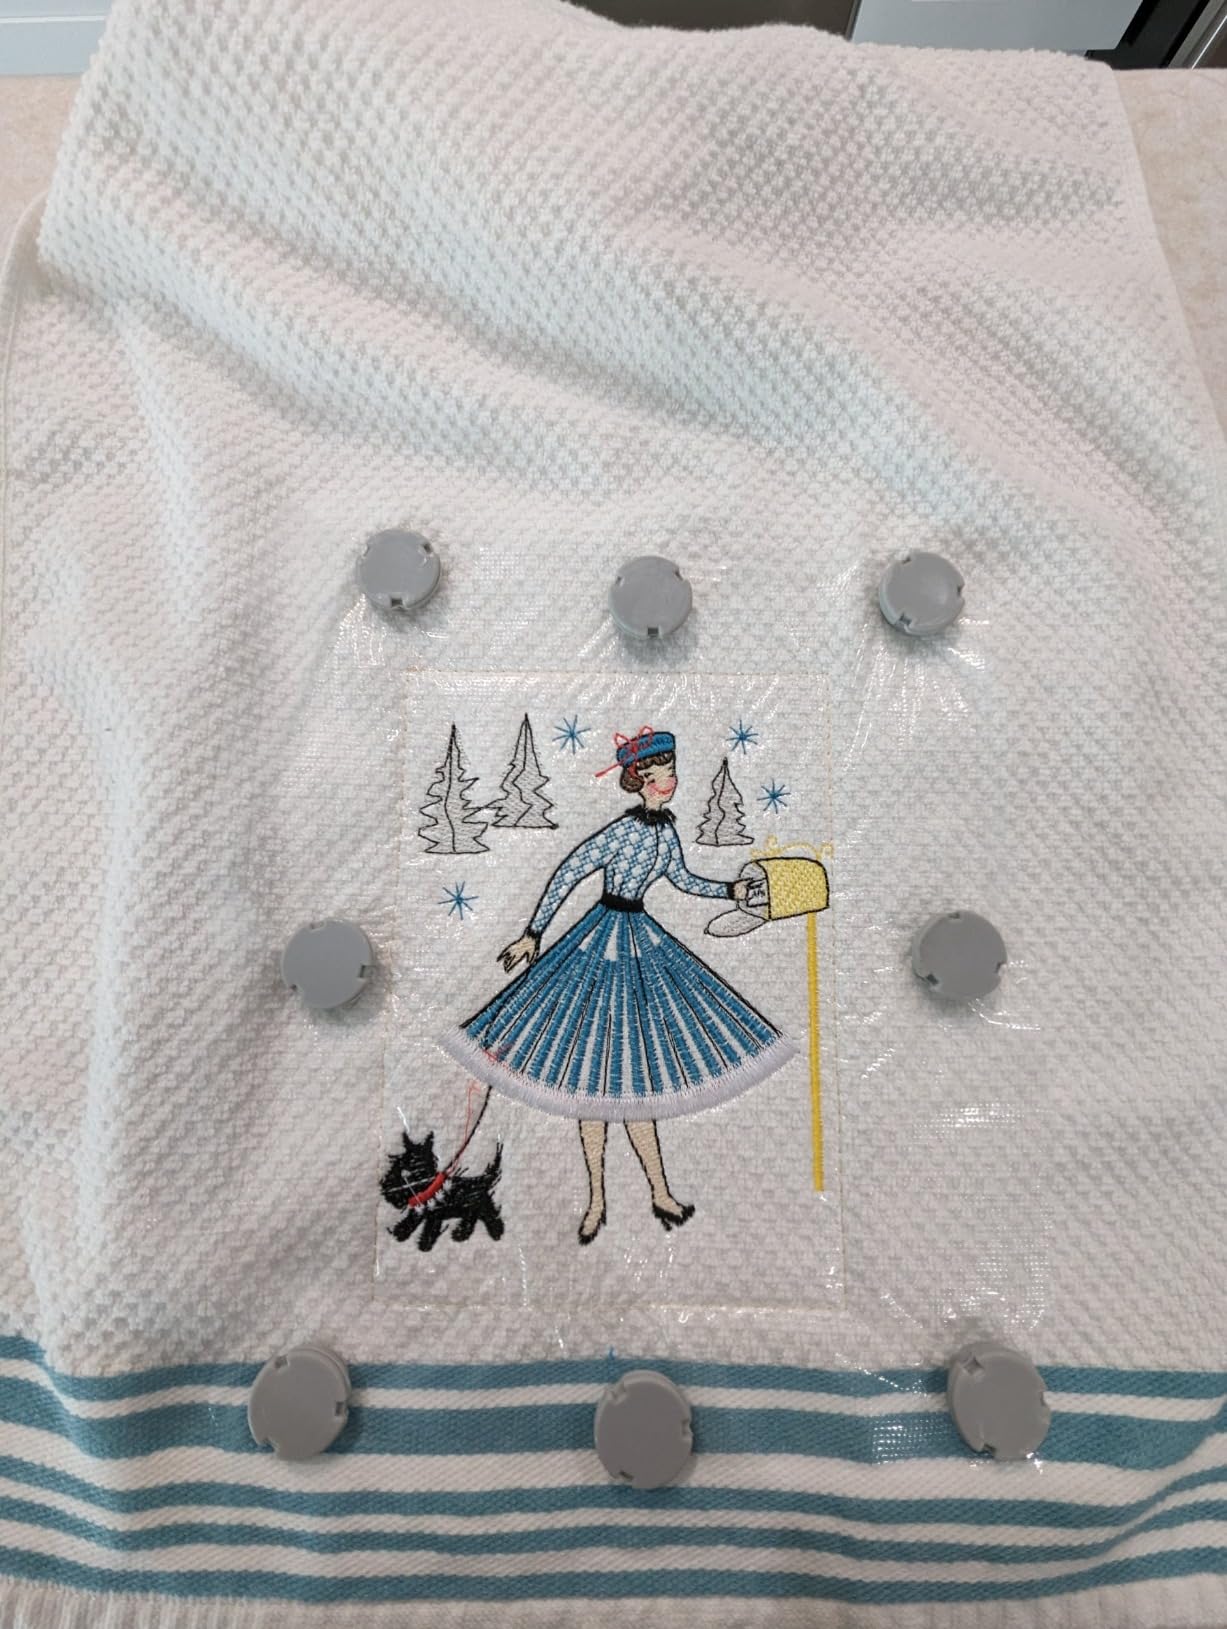
6.1 Why Fabric Stability Matters in Professional Embroidery
- Uneven tension = visible distortion
- When fabric shifts or stretches, outlines drift, fills gap, and satin edges ripple. Stable hooping is your first quality control.
- Magnetic hooping (no screws) for consistent hold
- Magnetic hoops secure fabric evenly without screw adjustments, helping reduce hoop marks and misalignment on everything from tees to multilayer garments.
- Time is money: compared to traditional screw-based hoops, magnetic hooping can cut garment hooping time from about 3 minutes to around 30 seconds—about 90% faster in repetitive workflows.
- A practical note
- Use magnetic hoops for garment hooping. They are not designed for cap/hat hooping.
Tip: Whether you’re evaluating Sewtalent or considering alternatives, look for strong, even magnetic hold and a surface that helps keep fabric flat and stable throughout the stitch-out.
6.2 Sewtalent’s Engineering: Durability Meets Efficiency
- High-strength build and magnet quality
- Look for hoops engineered with robust materials and high-grade magnets (e.g., N50) to maintain secure, even hooping over time and across fabric thicknesses.
- Proven efficiency and ROI signals
- Reduced setup time (around 90% faster hooping) and better stabilization can lower embroidery defects by about 15%—key drivers of payback in busy shops.
- Compatibility and scale
- Broad compatibility matters. Magnetic hoop systems with multiple sizes (from about 4 x 4 in to 17 x 16 in ranges) and support for 200+ commercial and industrial machine models help standardize your workflow across jobs.
- Considering MaggieFrame
- If you’re weighing options, MaggieFrame offers magnetic hooping with N50-grade magnets, wide size coverage, and extensive machine compatibility. Durability testing against Mighty Hoop has shown MaggieFrame lasting 27–40 times longer under impact and angle pressure scenarios, while maintaining stable performance. That combination—efficiency plus longevity—can compound labor savings over time.
Note: MaggieFrame magnetic hoops are for garment embroidery hooping (not caps/hats).
7. Conclusion: Streamlining Your Workflow End-to-End
Cone thread lets you sew longer, spend less per yard, and keep color perfectly consistent—exactly what big projects demand. On home or industrial machines, it shines when you create a clean, vertical feed and keep tension in check. Pair bulk cones with steady foundations—good needles, well-tuned tension, and stable hooping (magnetic hoops for garment embroidery) to reduce rework and keep stitches smooth. Start simple: set up a reliable thread path, test on scraps, and enjoy fewer stops with better results.
8. FAQ: Cone Thread & Machine Embroidery Solved
8.1 Q: Can I use cone thread without a stand?
- A: Not reliably. Feeding a cone from the machine bed adds drag and causes tension swings. Use a thread stand or a DIY vertical guide (mug + guide point, binder clip, taped safety pin/paper clip) so the thread rises straight up before entering the machine.
8.2 Q: Which thread weight works best for denim?
- A: Tex 70 is a practical choice. If your basic home machine struggles with thicker “jeans” thread, try quality all‑purpose polyester and fine‑tune tension; heavy‑duty machines handle thicker threads more easily.
8.3 Q: How do I prevent cone wobble and snags?
- A: Use thread nets to keep the thread from sliding down and to ensure smooth unwinding. Foam donuts help stabilize the cone, and cone inserts fill large cores so spools sit firmly on the pin.
8.4 Q: Can I run cone thread on a home embroidery machine?
- A: Yes. Route the thread vertically first (stand or DIY guide), then follow your normal threading path. The mug method works as a temporary solution; a dedicated stand is cleaner for frequent use.
8.5 Q: Do metallic or slick threads need special handling?
- A: Yes. They’re more break‑prone. Add a thread net, slow down, and avoid thick stacks. This keeps unwinding controlled and reduces snaps.
8.6 Q: What’s the quick fix when my stitches look off?
- A: Use the five‑step reset: clean/oil, re‑thread the top, replace the needle, re‑wind/re‑thread the bobbin, then fine‑tune upper tension. Read your stitch: top thread nesting underneath = tighten upper tension; bobbin showing on top = loosen upper tension.
8.7 Q: What’s the heaviest thread most home machines can handle?
- A: About Tex 70 is typical. Common cone choices include Tex 30, Tex 45, and Tex 70—match to fabric and needle size for best results.
8.8 Q: Is serger thread different from regular sewing thread?
- A: Serger thread is essentially all‑purpose thread on a cone, optimized to feed from the top. Sergers consume lots of thread fast, so cones are the economical format.
8.9 Q: Any storage tips for cones?
- A: Leave thread nets on during storage to prevent tangling. Keep cones tidy, protect from snags, and stabilize large‑core spools with cone inserts so they’re ready to feed smoothly next session.